Setting up your Microsoft Xbox 360 console to use My Private Network’s MyTelly service should take just a few minutes by following the steps below. Please note that your Xbox needs to be connected to the Internet and able to browse the web before moving on with the instructions below. You do not need to be connected to our VPN for MyTelly to work, kindly disconnect from the VPN if you have it turned on.
Using a different Xbox? Select your correct generation for the MyTelly setup below:
Xbox One Smart DNS MyTelly Setup
Whilst the Xbox supports a web browser, we recommend that you use a computer to register your IP Address on our network.
Not yet registered? It’s quick and easy, Sign Up now!
Check MyTelly DNS Settings
Login to our website, www.my-private-network.co.uk from your computer browser and you should be redirected to the My Subscription page.
Select the MyTelly tab on the left hand corner of the screen and click on Setup.
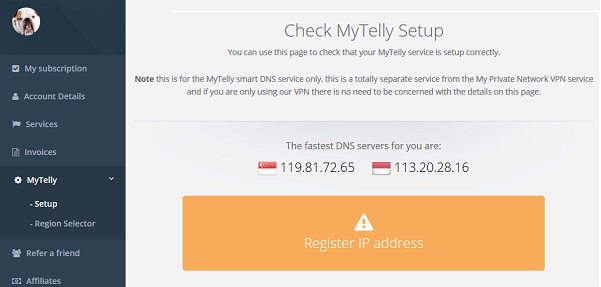
Take note of the DNS server addresses that appears on your screen, you’ll need it during the setup later.
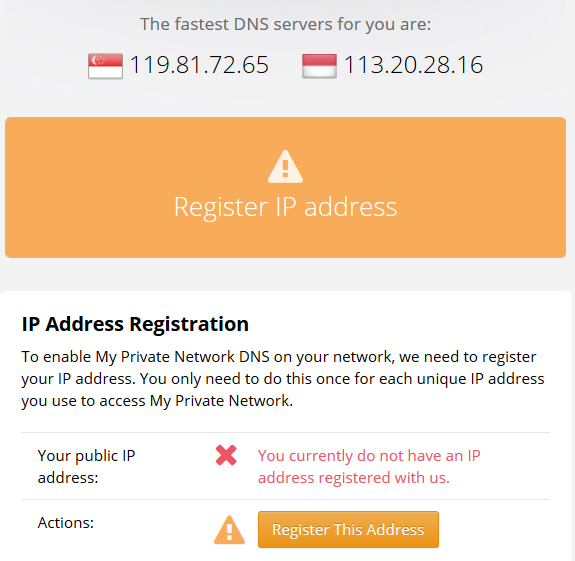
Register IP Address for MyTelly
Scroll down and click on Register This Address. This will register your IP address and also test your DNS setup to indicate whether you have configured the DNS settings correctly.
Please note that in this instance, since you are only changing the DNS settings on your Xbox later and not on your computer, the authentication page will return the following error:
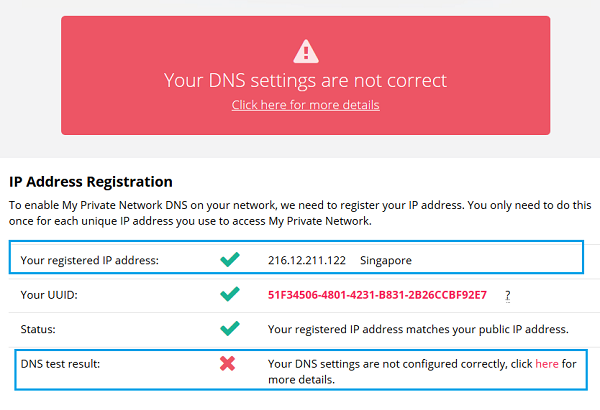
Please do not worry about this message as our servers have already registered your IP address as per the image above.
To learn more about the MyTelly errors, please refer to our article below:
MyTelly errors – Your DNS setting is not configured correctly.
Note: You will not have to do it again unless your IP address changes. Also, any device on the same network will be able to use the MyTelly service as long as you’ve set our DNS on their device’s settings.
Setup MyTelly on your Xbox 360
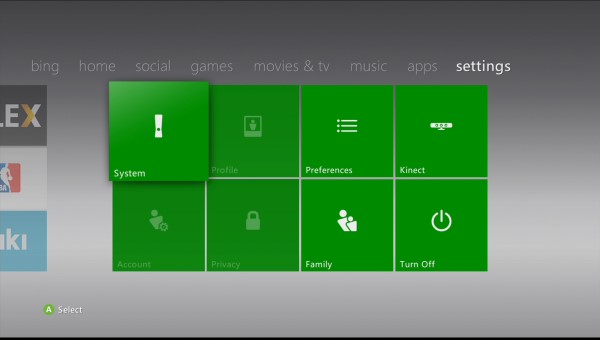
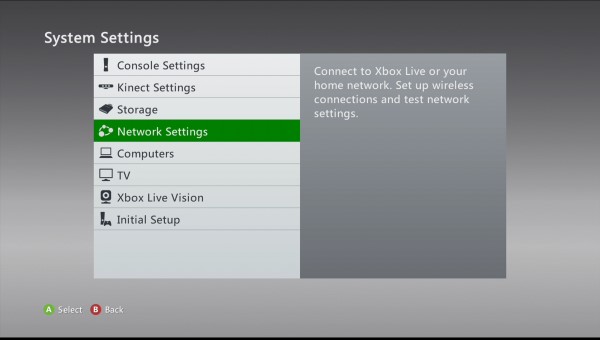
From your Xbox 360 home screen, scroll right until you reach the Settings tab and open System.
Under System Settings, select Network Settings.
In the next screen, you will see a list of nearby networks in your area. Please select your preferred network.
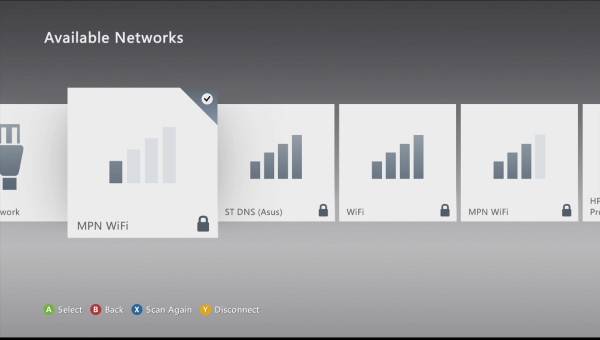
Following your selection, you will be prompted with the menu below:
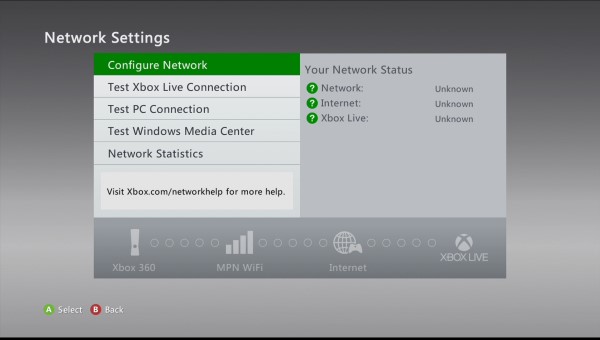
Please select Configure Network.
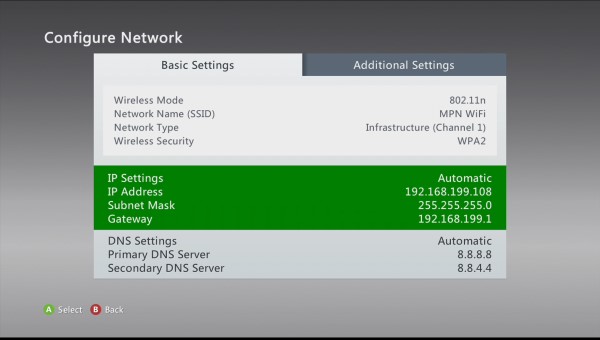
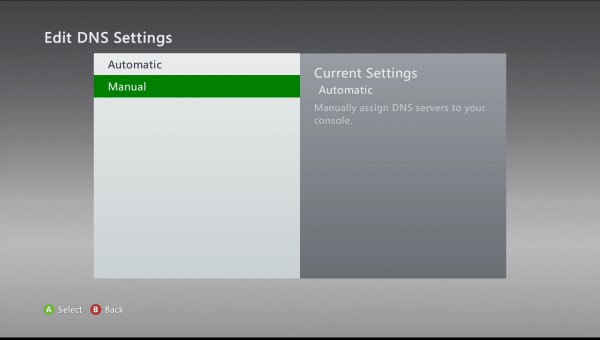
By default, your DNS Settings will be set to Automatic.
Change the DNS Settings to Manual by tapping on the A button of your controller while highlighting DNS Settings and select Manual in the next menu as shown below:
In the next menu, enter the Primary DNS Server and Secondary DNS Server that appeared in Step 1. Take a look at the example images below for reference:
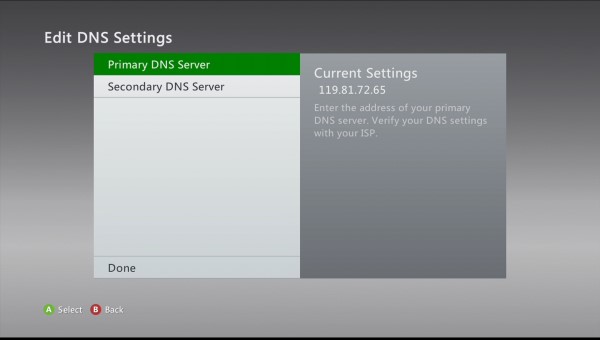
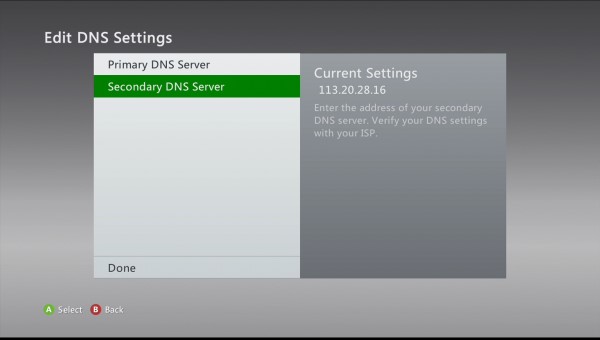
Note: The DNS addresses shown in the images here are just examples. Please follow the ones displayed on your own screen as indicated in Step 1.
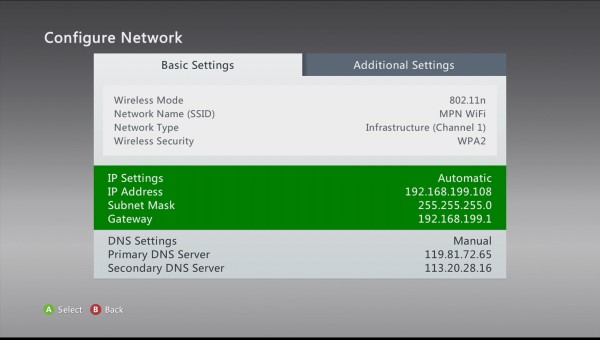
Once the DNS change has been successful, go back to your Xbox 360 Dashboard.
If your IP address was registered successfully as shown in Step 2 and the DNS has been set up correctly on your Xbox, you should now be able to access the relevant Media Apps on your Xbox.
Go ahead and access any TV content providers that we support!
Any Problems?
Unfortunately it doesn’t always go to plan!
If you have any problems or can’t get MyTelly to work, please email us at [email protected]. We’ll get back to you as soon as possible and try to help.