Setting up your Apple iPad to connect to My Private Network’s VPN should take just a few minutes using our iOS VPN manager app from the Apple App Store. Our app connects to the VPN via the IKEv2 protocol. Please note that your iPad needs to be connected to the Internet and able to browse the web before moving on with the instructions below.
Not yet registered? It’s quick and easy, Sign Up now!
Download My Private Network VPN App
Tap on the App Store icon on your iPad’s Home Screen
![]()
Tap on Search and type in “My Private Network”. The My Private Network VPN app should appear on your screen as shown below.
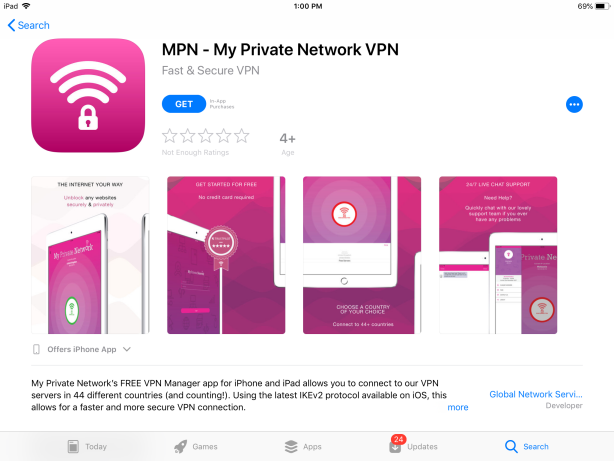
Tap on the Free button or the Cloud icon (if you have downloaded it before) to download and install the application.
Alternatively, just tap the Apple App Store icon below to download the app. Please ensure you’re tapping the icon below while using your iPad browser, or you’ll need to connect your iPad to your computer to transfer the app to your device
![]()
Tap on the Install button to install the app.
Login to the VPN App
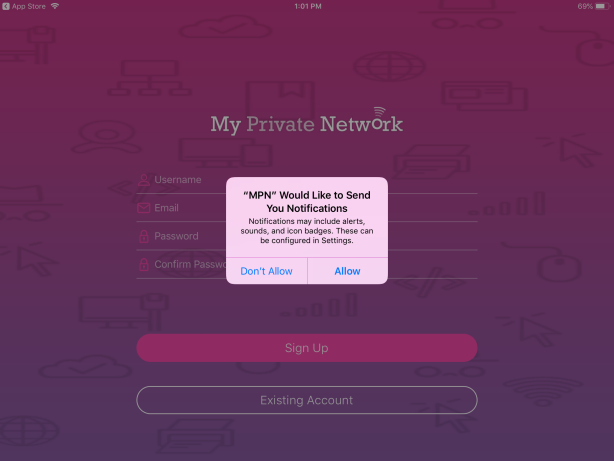
When you launch the app for the first time, you will receive a prompt to allow the app to send notification to your device. Select Allow.
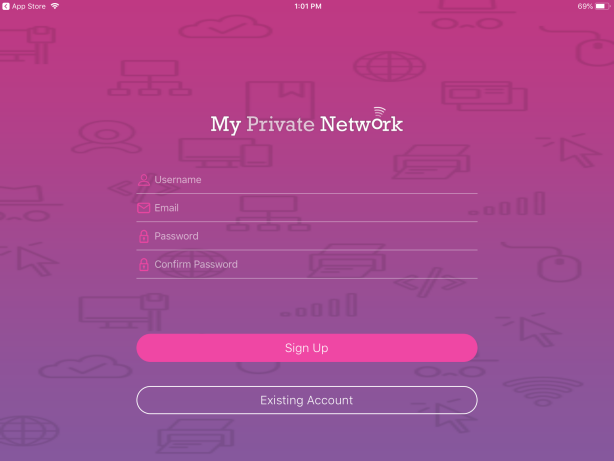
Now you will be given options to either Sign Up or if you have already have an account with us, tap on Use Existing Account.
Note: If you do not have a registered account with us, enter your details and tap on Sign Up.
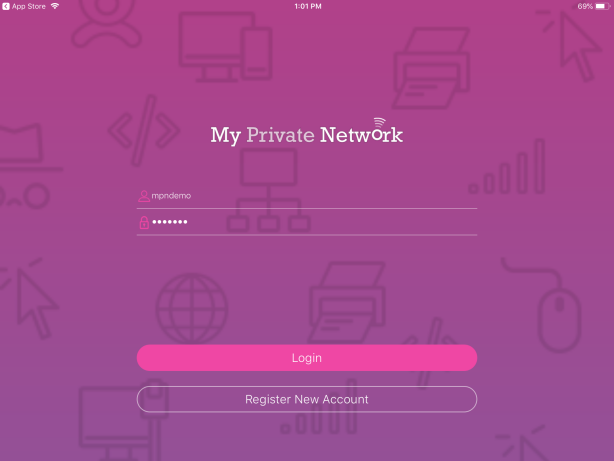
Once you have entered your My Private Network username and password, tap on the Login button to proceed.
VPN App Connection Status Page
Once logged in, you should see the app main page as the screenshot below:
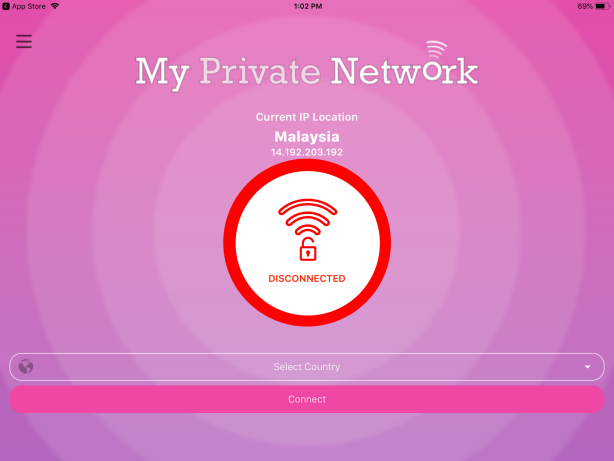
This is the main application screen, the center area shows whether or not you are connected followed by your details:
Circle Status: This field will either be Disconnected, Connecting or Connected depending on the current status of your VPN connection.
Current IP Location: This is your current effective Country and IP address that the rest of the internet sees for your device.
Select Country is the country that you wish to connect to, if you have a Global subscription, you can choose which country you wish to connect to by tapping on the drop down menu and scrolling through the list of countries and tap on Done at the right.
If you only have a single country subscription i.e United Kingdom (GBR) , you will not be able to change this field.
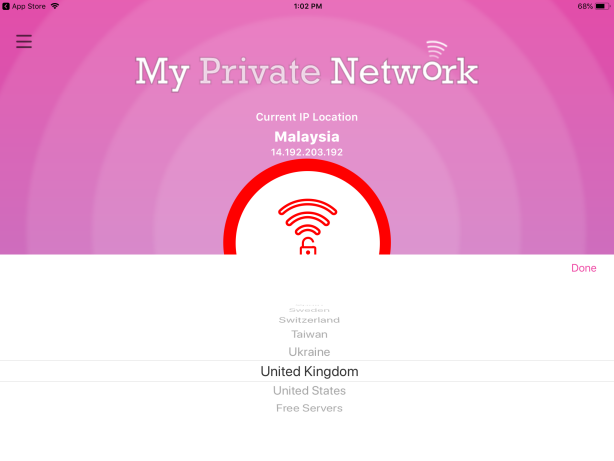
Note: If you have only a single country subscription i.e. our GBR Plan only, you will not be able to change this field as the selection will automatically be set to the subscribed country, which in this case is United Kingdom.
For 3-Days Free Trial: If you’re on our Free Trial, you can select from 44 available countries.
For Free Plan: You will also not be able to change this field (Free Servers) and your connection will be rotated between different countries we have in our Free VPN cluster.
Connecting to the VPN
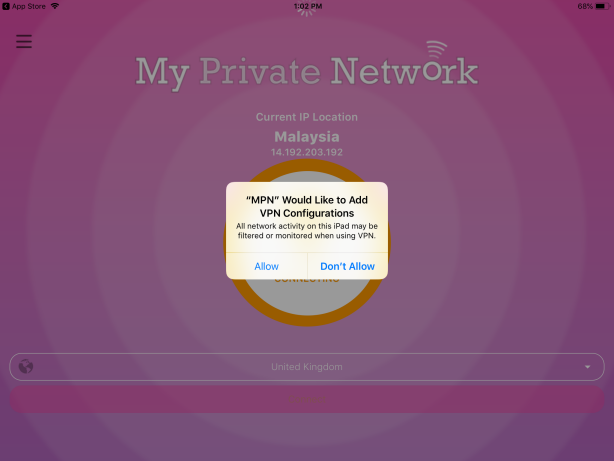
When you are ready to connect, click on Connect.
Note: If this is the first time connecting via the app, you will receive a couple of notifications as the app will install the profile automatically to your device.
The Status icon will change to orange which indicates that the app is now attempting to connect to our VPN servers.
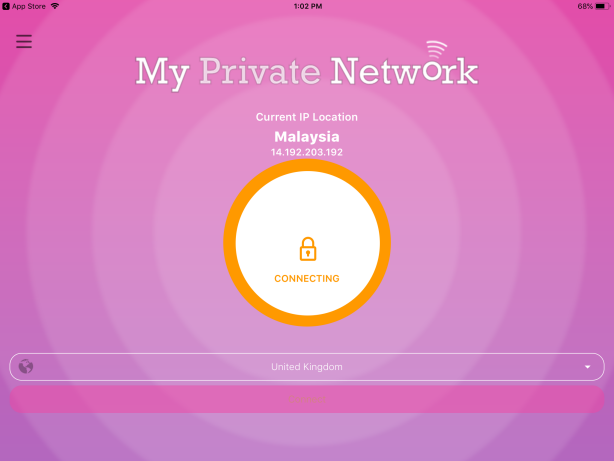
After a few moment, the Status icon should turn green which indicates that you have connected successfully to our service.
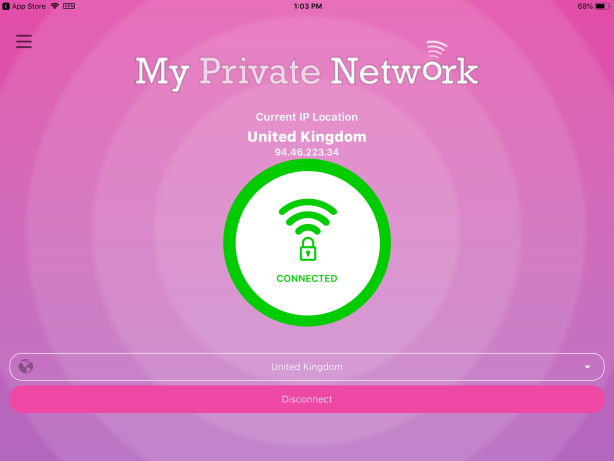
Other visual cues to indicate your Connected status will be the Current IP Location which will show the Country and IP address of the VPN country that you selected earlier.
Also, the padlock will be locked and you should see a VPN logo on the top left hand corner of your iPad.
As long you are connected, your connection will be securely routed through our servers and you are now free to access whichever sites or applications that were previously blocked.
Disconnecting from the VPN
To disconnect the VPN, simply open the App again and tap on the Disconnect button. The status icon will turn Red again and your IP Location will revert to your original network IP address and Country.

The padlock will be unlocked again and the VPN logo should disappear from the top left hand corner, indicating that the VPN is now disconnected.
App Guide and Information Status
The left hand side of the screen shows your Account Details.
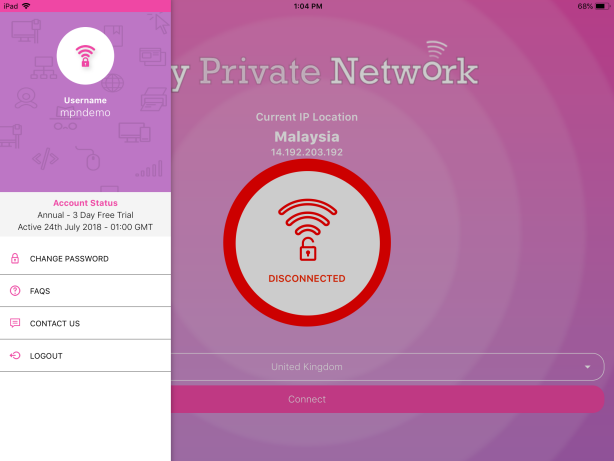
Username will be the VPN username that is currently logged into this VPN app.
Account Status is your account status with My Private Network. This consists of the service you are subscribed to, followed by your subscription status. Your subscription status will usually either Active, Expired, Cancelled or Excluded.
Change Password – select this if you wish to change your VPN password from within the app.
If you have general queries or service issues in relation to the VPN app, you can click on the FAQ (frequently asked questions) option or contact us directly within the app using the Contact Us option.
Logout will remove the saved username and password and kick you back to the VPN App login screen so you will need to enter them again if you wish to use the app.
Alternatively, you can email us at This e-mail address is being protected from spambots. You need JavaScript enabled to view it. We’ll get back to you as soon as possible and try to help.