Setting up your Windows 10 computer to connect to My Private Network’s VPN should take just a few minutes using our OpenVPN application. Our app connects to the VPN via the SSL protocol. Please note that your Windows computer needs to be connected to the Internet and able to browse the web before moving on with the instructions below.
Using a different version of Windows? Select your correct Windows version for the SSL OpenVPN setup below:
Windows 8 OpenVPN Setup
Windows 7 OpenVPN Setup
Windows Vista OpenVPN Setup
Windows XP OpenVPN Setup
Not yet registered? It’s quick and easy, Sign Up now!
Check Internet Connectivity
Make sure your system is connected to the internet and that you are able to browse the web. To check your location, please go to our IP Info page.
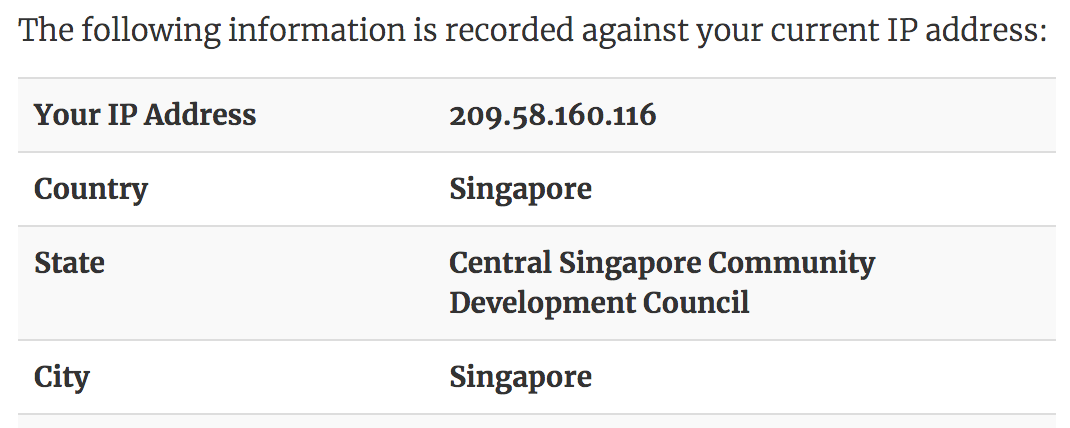
This shows the IP Address and country that you are currently connecting from, in this example, the user is connecting from Singapore.
Download OpenVPN
If the auto-download did not start, please download the OpenVPN installer from the link below:
MPN SSL OpenVPN Download (32/64 bit)
Note: The actual file name might change slightly as we update our software.
When you see the security warning, select Run, or alternatively, save the file.

and once it has downloaded, click on Run to install.

If User Account Control is enabled, you might see a warning, click on Yes to continue.
Install OpenVPN
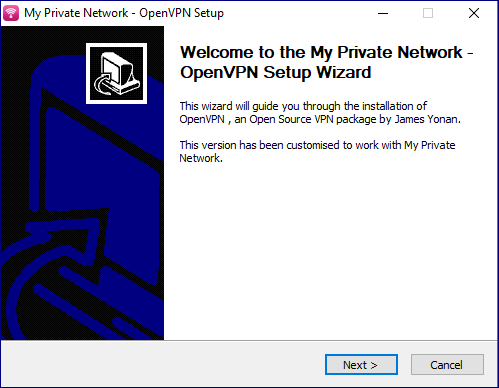
At the welcome screen, click Next.
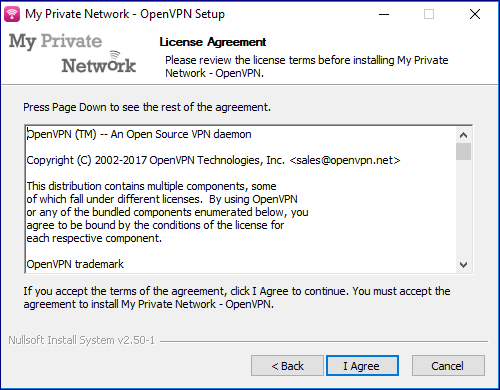
and then agree to the license terms.
Choose VPN Country
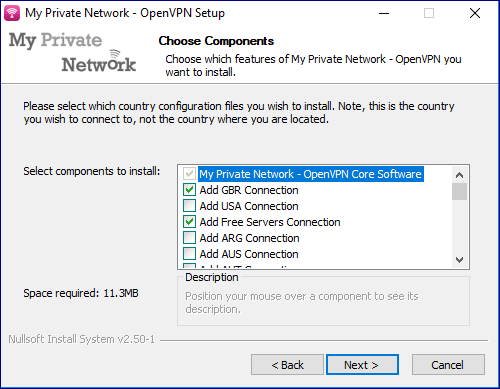
The next window allows you to choose which country files you wish to install.
If you have a single country subscription, i.e. just the USA, uncheck the other countries and only the USA connection will be installed.
If you have subscribed to our Global plan, then you can choose to install the configuration files for whichever countries you wish to connect to.
For 3-Days Free Trial: If you’re on our Free Trial, you can access and install the configuration files for whichever countries you wish to connect to. We highly recommend you to install all of them so that you may connect to any other country at your own convenience.
For Free Plan: If you wish to use our Free service, please select the Add Fre Connection to connect to the Free servers.
In this example, we will accept the default to install the GBR and Free connections and click on Next to continue.
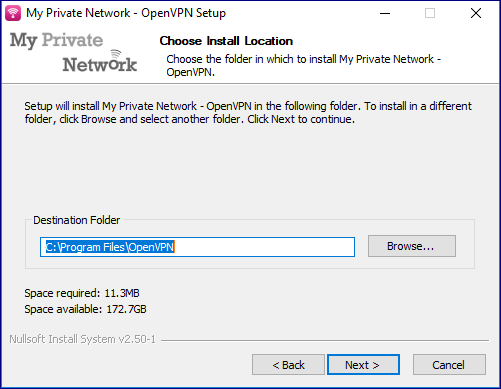
Choose Installation Directory
If you want, you can specify the directory where our software is installed, we recommend that you leave this as default and click on Next to proceed.
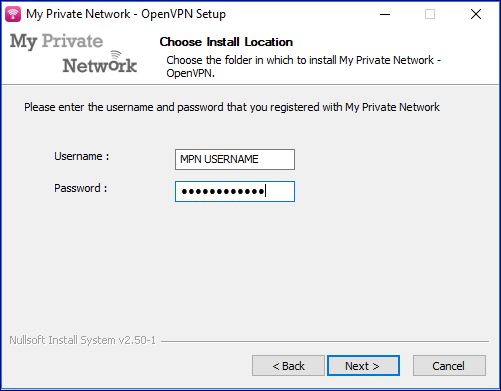
Enter your VPN Username and Password
You will now be asked for your My Private Network Username and Password, these are the same details that you registered with us.
Enter your details and click on Next.
Don’t Have a VPN yet? give our Free Trial a go by clicking the button below for 3 full days of unlimited access to both our VPN and MyTelly services.
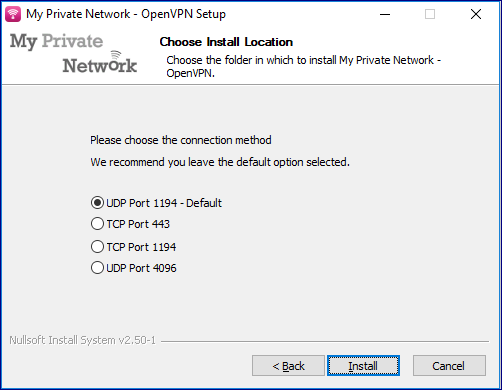
Configure VPN Protocol
Select the connection protocol to install. By default, the connection will use UDP Port 1194 so if you are not sure, just leave it as it is and click on Install.
For more details on the different protocols, please refer to our Knowledge Base article below:
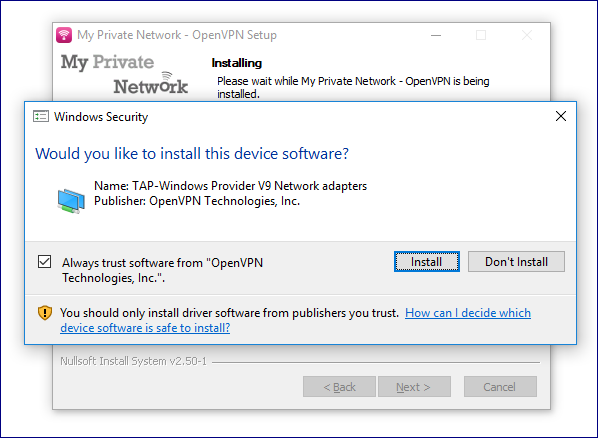
Install VPN Driver
Note: In some cases, the TAP-Win32 Adapter might already be installed on your computer. In that case, skip this step.
Windows will now install the OpenVPN software. You will be prompted to install the TAP-Win32 Adapter, this bit of software is required to connect to us and you must install it, so click on Install to continue.
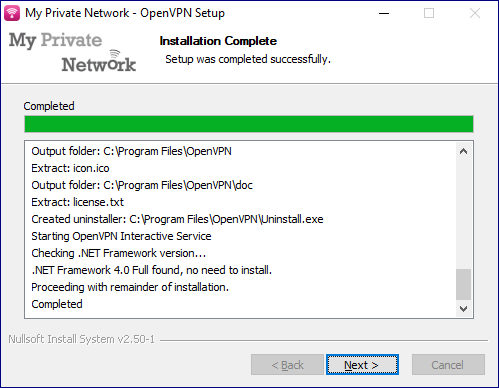
Installation Complete
Once the installation has finished, click Next to continue.
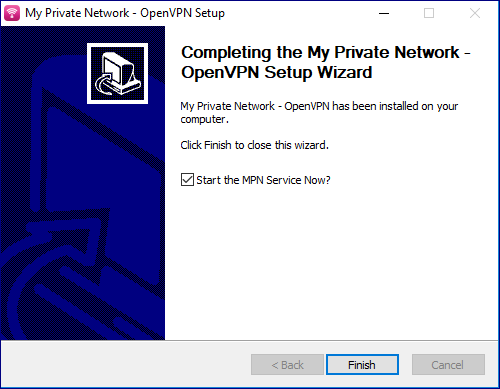
On the final page, leave Start the My Private Network Service selected and click on Finish, this will automatically start the service for you.
The installation is now complete, and the service should have started automatically. You should be able to see the MPN icon in the task bar at the bottom right hand corner of the screen. As you are not yet connected, the icon will be Red.
Note: If you can’t see the MPN icon in the taskbar, most likely the icon is hidden and you will need to click on the taskbar (the UP arrow on the bottom right side of your screen) and you should be able to see it.
![]()
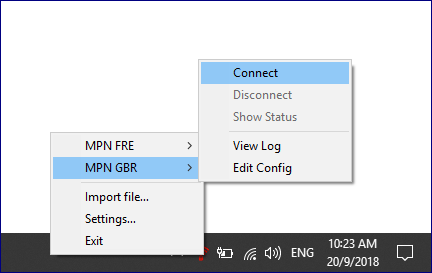
Connecting to the VPN
To connect, right click on the red icon and choose the country that you wish to connect to, in this case, we will choose MPN GBR for the connection to the UK, and then click Connect.
The icon will turn yellow whilst connecting and the connection window will be displayed.
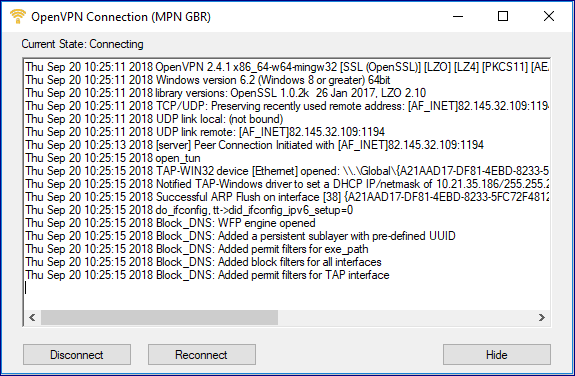
Once connected, the connection window will close and the icon will turn green. You will then see a message saying that the service is now connected.
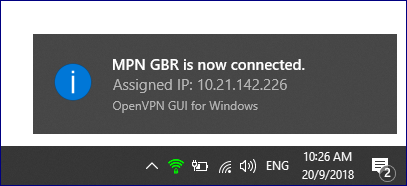
Note: The IP address starting with 10.x.x.x as shown in the example above is our internal VPN address and not your public VPN IP address. In order to check your public IP address after connecting to the VPN, see Step 11.
Check your IP Address
If you now check your IP address again from the IP Info page, your location should show that you are now in the UK (or which ever country you have connected to).
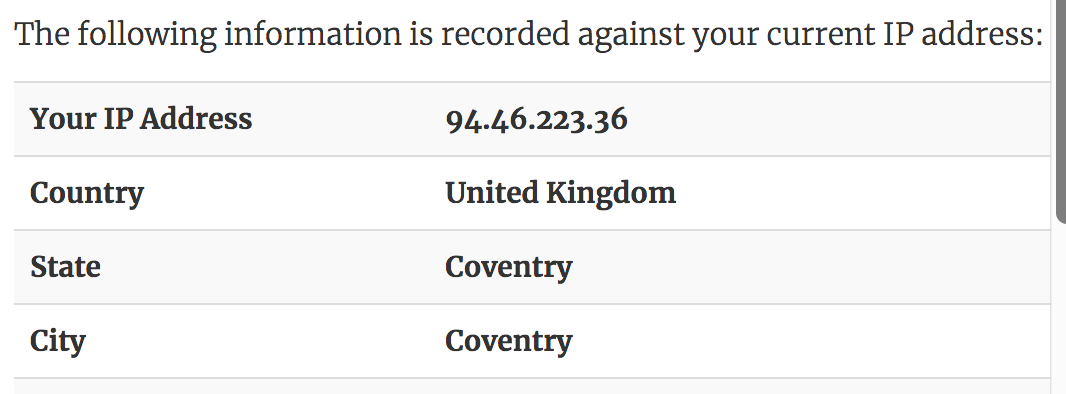
Note: the server IP address and country name will vary depending on the server or country you are connected to.
That’s it! You are now connected. All your internet traffic will now be transmitted securely via our VPN servers through the country you had configured.
Change Something?
If you entered the wrong username and password, or if you want to add any additional country configuration files or remove existing ones, you can use our re-configuration tool.
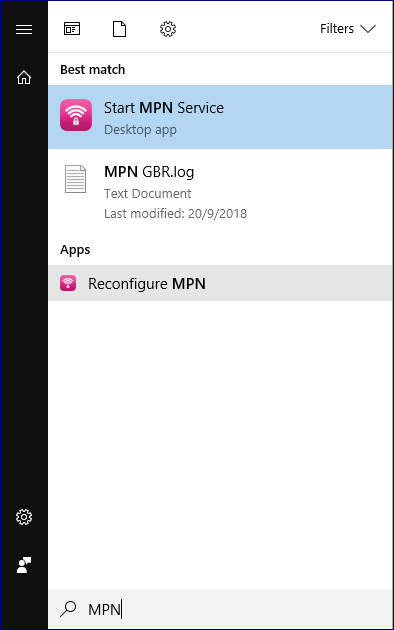
Search for the Configuration tool by pressing the (Win+Q) keys, and type in MPN and select Reconfigure MPN.
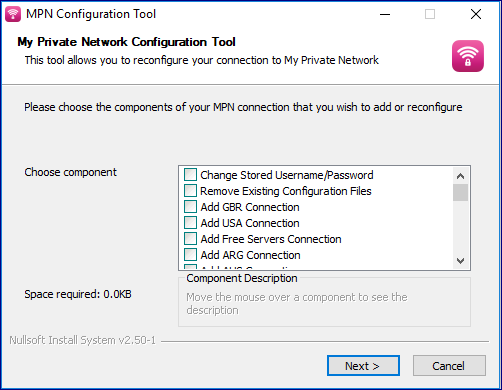
Once the Configuration Tool appears, select your preferred options and click on Next.
For 3-Days Free Trial: If you’re on our Free Trial, you can access and install the configuration files for whichever countries you wish to connect to. We highly recommend you to install all of them so that you may connect to any other country at your own convenience.
For Free Plan: If you wish to use our Free service, please select the Add Free Servers Connection to connect to the Free servers.
If required, enter your user details again and click on Next.
Finally click on Close and your requested changes will have been made.
Re-Starting the VPN
The MPN Service is automatically started at the end of the installation. However, the next time you switch on your computer, you will need to start it manually.
To do this, double click on the Start MPN Service icon on the desktop or alternatively search for MPN and choose the Start MPN Service option.
Once the service is running, you will see the Red VPN icon in the task bar again and you can right click on it to connect, as shown in Step 10.
![]()
Any problems?
Unfortunately it doesn’t always go to plan!
If you have any problems or can’t get connected, please email us at This e-mail address is being protected from spambots. You need JavaScript enabled to view it. We’ll get back to you as soon as possible and try to help.