This article will guide you through on setting up our VPN service on LibreELEC.
Note: If you’re using LibreELEC Kodi for streaming TV, we highly recommend that you use our MyTelly Smart DNS service instead. The setup instructions can be found here”
MyDNS LibreELEC Kodi Setup on Raspberry Pi 2
Step 1: Connecting to your LibreELEC device via SSH
We will need to download some configuration files that is required for the VPN to your LibreELEC device. While you can download the files to your computer and then copy it to your device manually through a USB drive, we recommend downloading and editing the file directly in your device via SSH but the choice is yours.
To do so, you will first need to find the IP address of your device. To do so, simply power up the LibreELEC device and go to;
System > System info > Network
You should now see the IP address of your LibreELEC device as shown in the screenshot sample below:
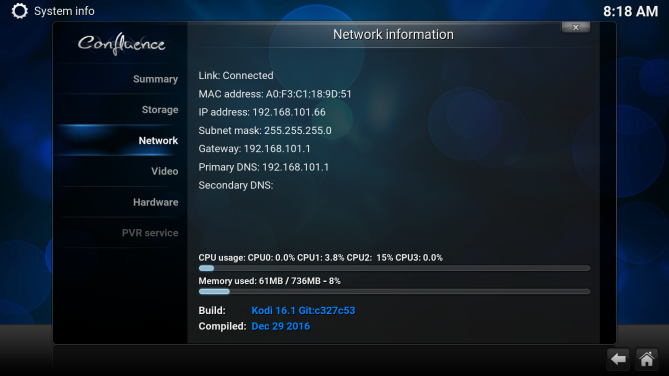
In the sample screenshot above, the IP address for this particular LibreELEC device is 192.168.101.16
Please note that your IP address will be different, depending on your network configuration.
Once you have the IP address of your LibreELEC device, SSH into the device using any SSH client, such as PuTTY.
In this example, we’ll be using PuTTY to finalize the connection process.
Enter the IP address of the LibreELEC device in the ‘Host Name’ field and click Open.
At the login prompt use the following credentials:
Username: root
Password: libreelec
Step 2: Downloading connection files
Now download the files below to that directory, easiest way is to just copy the code listed below and it should download them to your device.
Service VPN manager add-on
wget www.mypn.co/files/libreelec/VPN-Manager-2.4.0.zip
MPN OpenVPN configuration file
wget www.mypn.co/files/libreelec/MPNVPN.ovpn
Step 3: Editing OpenVPN configuration file
vi /storage/MPNVPN.ovpn
The content of the configuration file will be as below:
client
remote SERVERNAME
remote-cert-eku 'TLS Web Server Authentication'
dev tun
proto udp
port 1194
resolv-retry infinite
nobind
route-delay 2
mute-replay-warnings
Please replace the word SERVERNAME with the server you’re trying to connect to, i.e. gbr.mypn.co if you’re subscribed to our UK plan and save the file.
Note: If you wish to use our Free service, the servername that you need to use is fre.mypn.co and your connection will be rotated between different countries we have in our Free VPN cluster.
For the full list of servernames that you can use, please refer to our Knowledge Base Article.
Step 4: Installing VPN manager add-on
Install it by navigating into your LibreELEC user interface, System > Settings > Add-ons > Install from zip file > Home Folder > VPN-Manager-2.4.0.zip
Note: Installation can take several minutes in the background. A notification will be displayed when the add-on is ready to use.
Step 5: Connecting to the VPN
Once the VPN manager add-on has been installed on your device, you should be able to See settings for VPN Manager screen. If you don’t see this, you can navigate to it via the steps below:
Go to Programs > VPN Manager for OpenVPN > Add-on Settings > Settings.
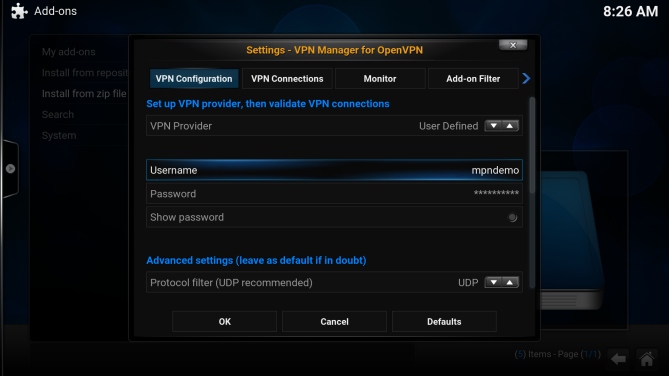
At the VPN configuration tab, select User Defined from the drop down menu of VPN provider section and enter your VPN username and password at the box below.
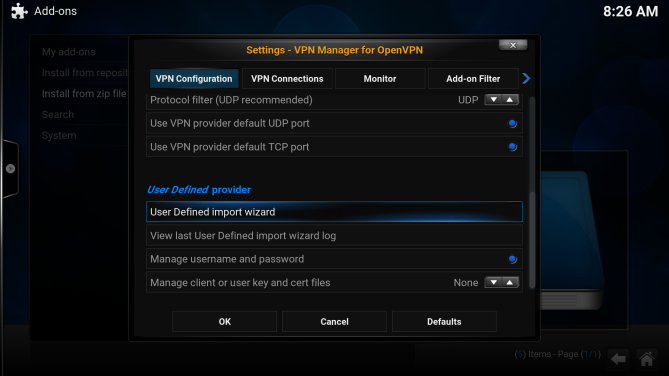
Next, scroll down to User Defined Provider section and select User defined import wizard. Select OK when you see security warning box and Yes to continue.
Now, choose Files and load the configuration file that you’ve downloaded into your device via the command earlier, i.e. MPNVPN.ovpn in Home folder.

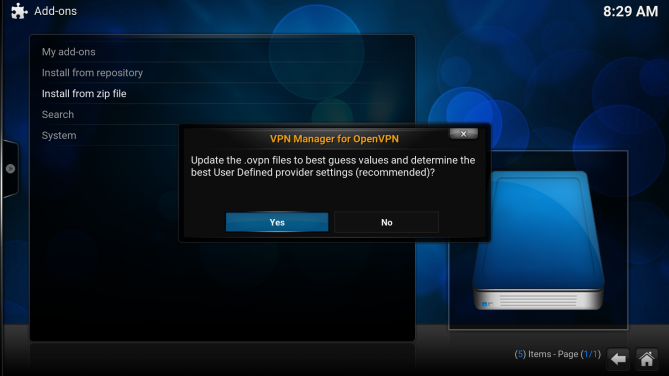
Choose Yes when you been asked to update the .ovpn files to the best guess values settings.
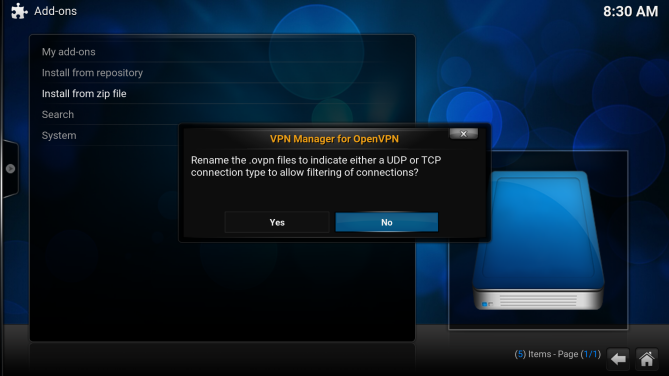
Select NO to rename .ovpn files.
Once it has done copying, Select OK and and you will be back at the Settings – VPN manager for OpenVPN screen.
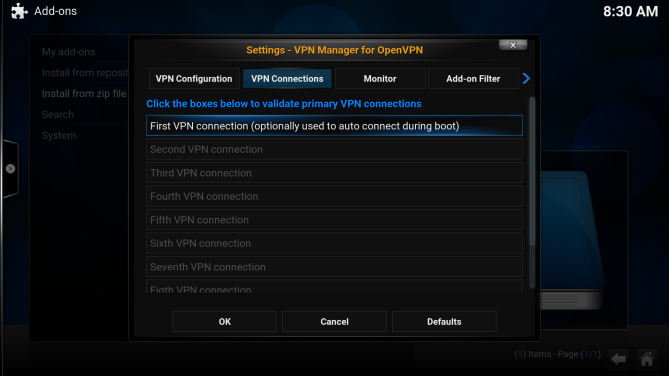
Now go to VPN connections tab and click on First VPN Connection.
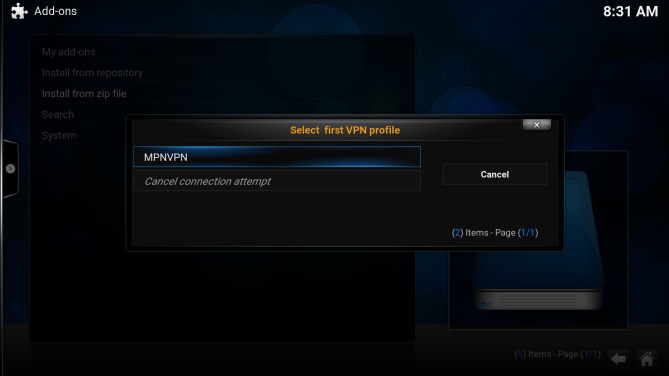
It will now validate the VPN connection, choose MPNVPN profile when you’re prompted.
This validation check is only needed to be done once. The next time you start your device, the connection should start automatic.
Also, the validation can take up to 10 minutes once it reaches 96%, so be patience and do not skip this process. (You must wait until it completes 100%).
Once the connection validation has completed, you will get the following screen below.
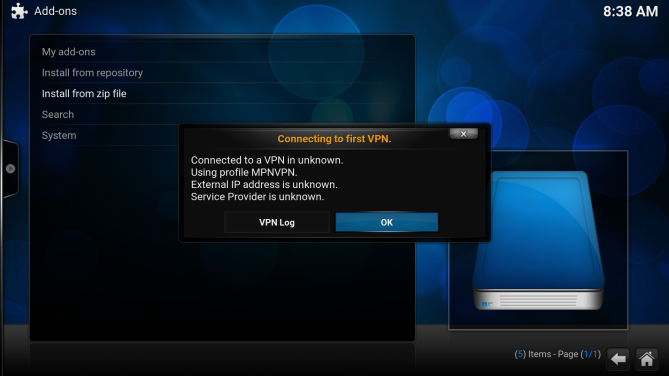
Select OK and go back to your home screen. You can now access the region restricted contents on your device.
If you would like to check whether the VPN is active or not, you can run the following command via SSH.
curl ifconfig.co
It should show you an IP address, which should be your the IP address of the country that you’re connected to.
To confirm this, simply copy the IP address and paste it at https://geoiptool.com/ (Host box) and it should indicate that you’re in the UK.
The VPN will start automatically the next time you start your device. You can also connect or disconnect from the VPN manually via Programs > VPN manager for OpenVPN.
Problems?
If you happen to have any problems or simply can’t get connected, please email us at [email protected] and we’ll get back to you as soon as possible to assist.