This page will guide you through to set up our Smart DNS service, MyTelly on an Western Digital TV box.
Please note these instructions are created based on our research online and the feedback that we received from our customers. Therefore, we are not sure if it will work on your device. If you wish to give this a try, please follow the instructions below:
Step 1: Check the MyTelly settings on website
Login to our website, www.my-private-network.co.uk from your computer browser and you should be redirected to the My Subscription page.
Select the MyTelly tab on the left hand corner of the screen and click on Setup.
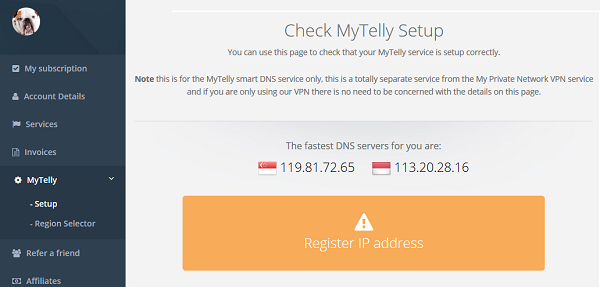
Take note of the fastest DNS servers address that appears on screen.
Step 2: MyTelly IP Registration on Network
Scroll down and click on Register This Address.
Note: This will register your IP address and also test your DNS setup and indicate whether you have changed the DNS settings correctly.
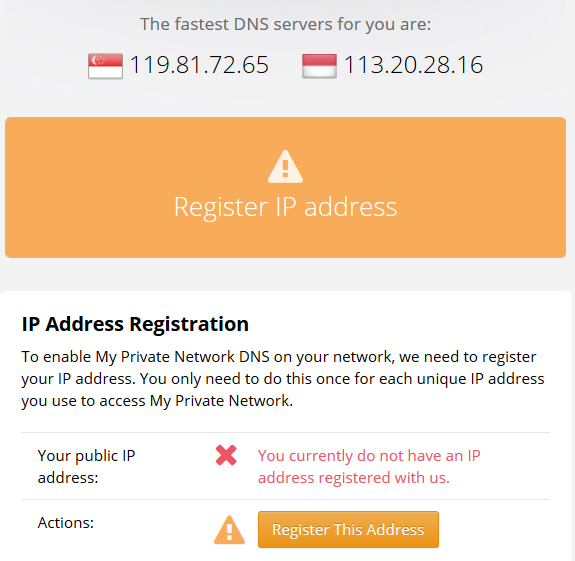
Please note that in this instance, since you are only changing the DNS settings on your Western Digital TV box later and not on your computer / other device, the authentication page will return the following error:

Please do not worry about this message as our servers have already registered your IP address as per the screenshot above.
To learn more of the MyTelly errors, please refer to our article here: MyTelly errors – Your DNS setting is not configured correctly.
Note: You will not have to do it again unless your IP address changes. Also, any device on the same network will be able to use the service as long as you’ve set our DNS in their settings
Step 3: MyTelly Configuration on Western Digital TV box
- From your WDTV homescreen, go to Setup > Network Settings > Network Setup.
- Select your network connection: Wired or Wireless.
- Select your wireless profile if you are connected Wirelessly.
- Under Network Setup, select Manual setup.
- Scroll down to the DNS field to and enter the DNS server addresses that appeared on your browser earlier.
- Click OK to complete setup.
Return to the device home menu and if your IP is already registered and the DNS is set up correctly, you should be able to access the relevant Media Apps that is available for you.
Any Problems?
Unfortunately it doesn’t always go to plan!
If you have any problems or can’t get connected, please email us at [email protected]. We’ll get back to you as soon as possible and try to help.