The steps below were created based on Windows 10 interface, but the steps are fairly the same across all Windows Operating System (Windows XP, Windows Vista, Windows 7, Windows 8 / 8.1, Windows 10)
If you are not using the MPN OpenVPN application on your system anymore or if you are encountering errors with the current installed version, we suggest you uninstall it following the steps below:
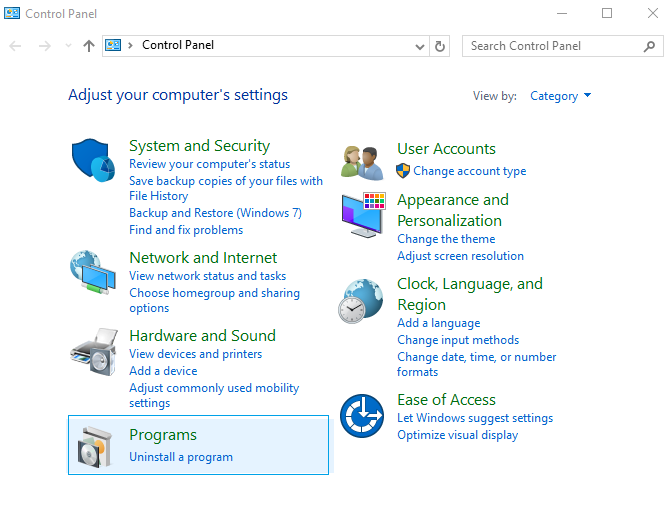
1) Go to Control Panel > Programs > Uninstall a program
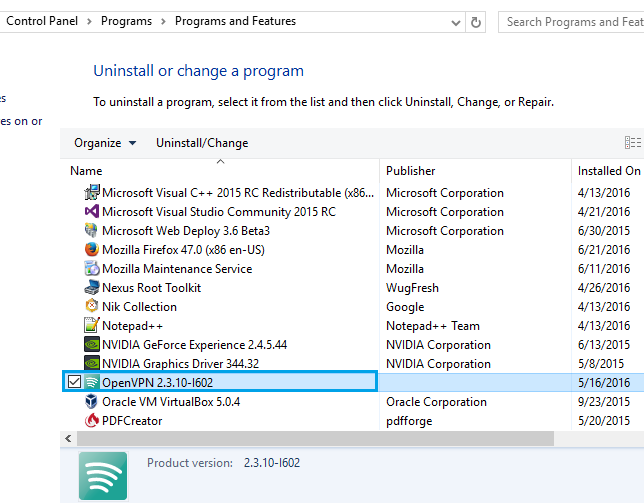
2) Select the OpenVPN installation and click on Uninstall / Change
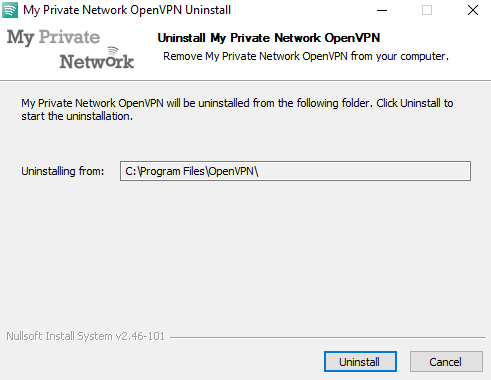
3) Click on Uninstall
4) Click on Next > Finish to complete the Un-installation process.
Manual Uninstallation
In some cases, you might still have issues reinstalling the application as some of the files and registry entries are not fully removed from the system.
To be sure, you can manually remove them by following the steps below:
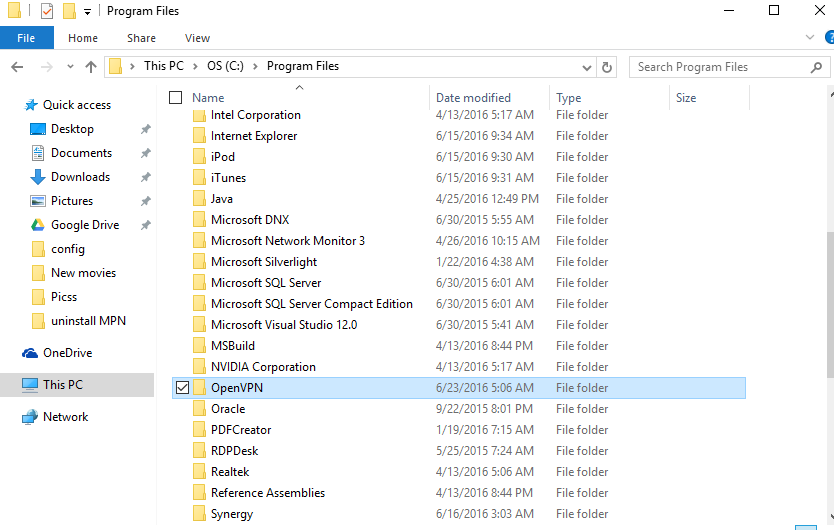
1) Delete the OpenVPN folder from the installed directory. By default, the OpenVPN application will be installed under this folder:
32bit systems – C:Program FilesOpenVPN
2) Download the OpenVPN registry removal script here:
3) Launch the registry file that you’ve downloaded and follow through the process to complete the removal.
Give that a try and if you have any further problems, please send us an email to [email protected] and we will do our very best to assist you.