The instructions below are specific to Samsung based Android phones running on Android 7.0 with the TouchWiz user interface.
In general, this guide is also applicable for other Android phones, but there will be some minor differences depending on what version of Android and interface you’re using.
If you’re using a generic or vanilla Android phone, please visit our standard DNS setup instructions in the link below:
How to set up Google DNS on your Android device
Step 1
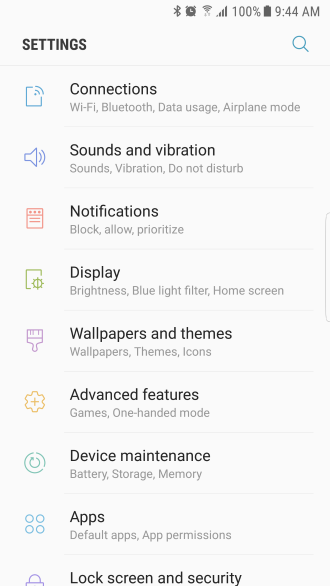
Open Settings.
Tap on Connections.
Step 2
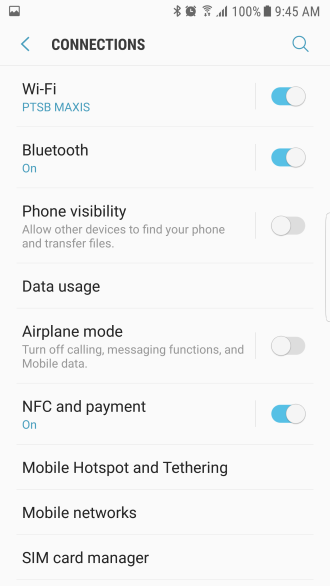
Under Connections, tap on Wi-Fi.
Step 3
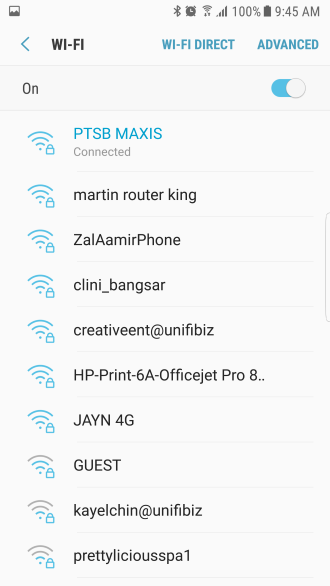
In the following menu, you’ll see all available Wi-Fi networks in your area.
Tap and hold the highlighted Wi-Fi network on the screen.
Note: The highlighted Wi-Fi network is the one you’re currently connected to.
Step 4
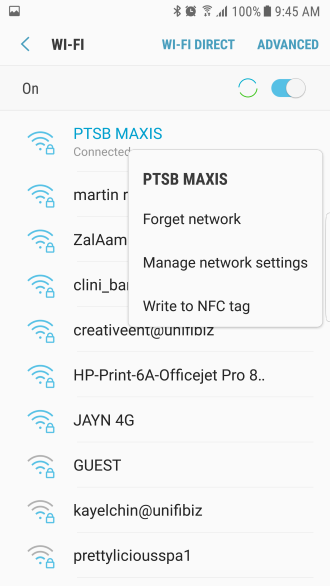
When the pop up menu appears, tap on Manage network settings.
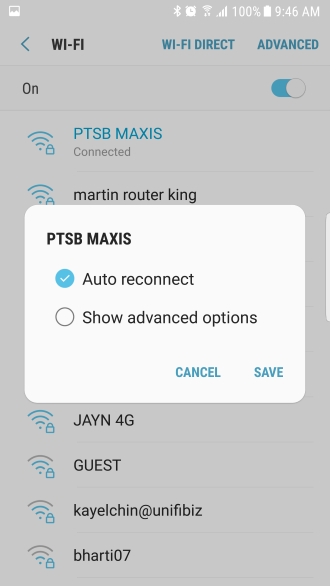
Step 5
In the following pop up menu, please tap on Show advanced options.
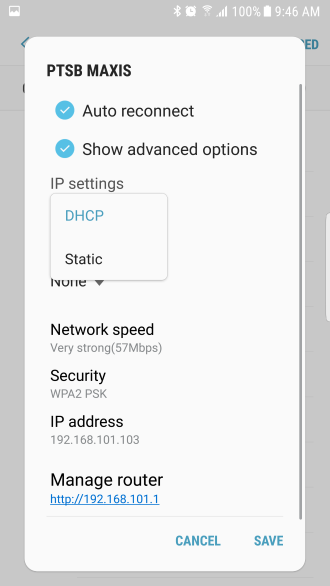
Step 6
Look for an option called IP settings.
By default, it will state DHCP.
Please tap on this option and change it to Static.
Step 7
By default, the fields that appear will be automatically populated.
The main fields you will need to manually change are DNS 1 and DNS 2.
Please enter the following details:
DNS 1
8.8.8.8
DNS 2
8.8.4.4
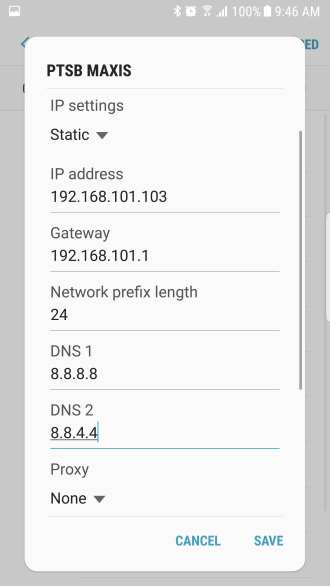
Once you’ve entered the Google DNS addresses above, tap on Save.
How to Set Google DNS on your device / system
If you have any problems or need further assistance, please email us at [email protected]. We’ll get back to you as soon as possible and try to help.