Microsoft latest Operating System, Windows 10 has a number of major improvements and differences compared to previous versions of Windows, but some things are still the same.
To set up our L2TP VPN service for Microsoft’s Windows 10, follow the steps below.
Step 1: Getting Started
From your desktop screen, click on the Network icon which can be found at the bottom right hand corner of your screen and click on Network Settings.
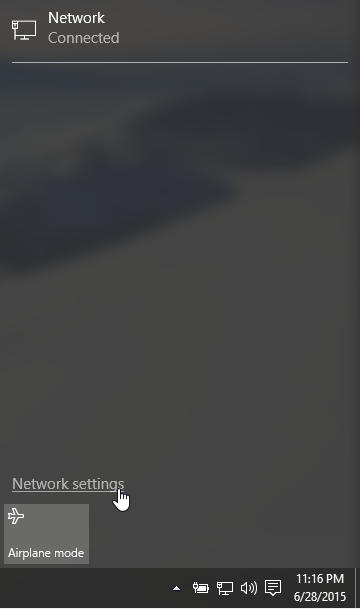
Navigate to VPN and click on Add A VPN Connection.

Step 2: L2TP Connection Configuration
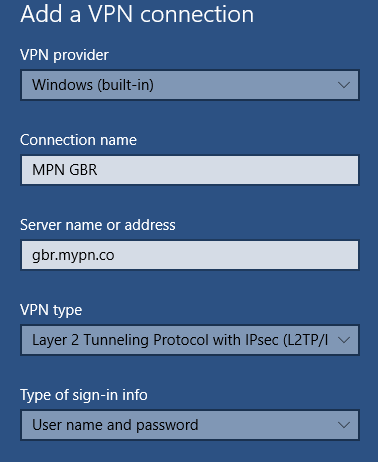
On the VPN Connection Configurations page, enter the VPN details as below:
VPN provider: Windows (built-in)
Connection name: MPN GBR
Server name or address: gbr.mypn.co
Note: If you want to connect to any of our other servers, (ie. our USA servers) simply change the Connection name and server name. For a list of server names, please refer to our complete list of servers.
VPN type: Layer 2 Tunneling Protocol with IPSec (L2TP/IPSec)
Step 3: VPN Username and Password
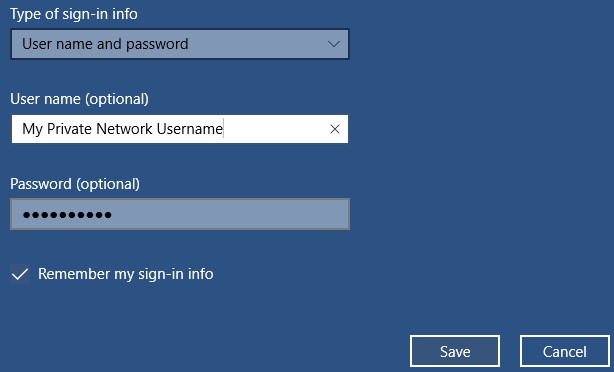
Enter your My Private Network account details in the selection box as below:
Type of sign-in info : User name and password
User name : Your MPN username
Password : Your MPN password
Tick the Remember my sign-in info if you wish to have the details saved in the system and click on Save.
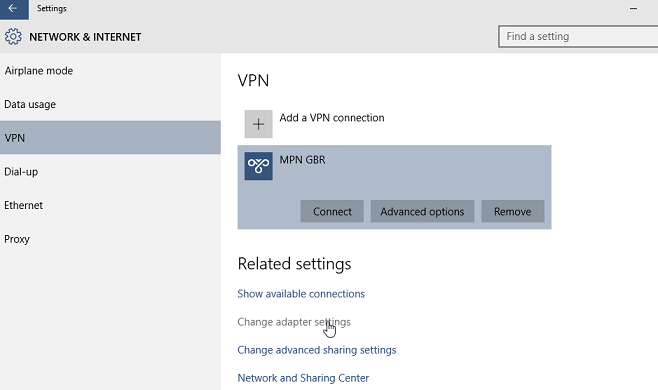
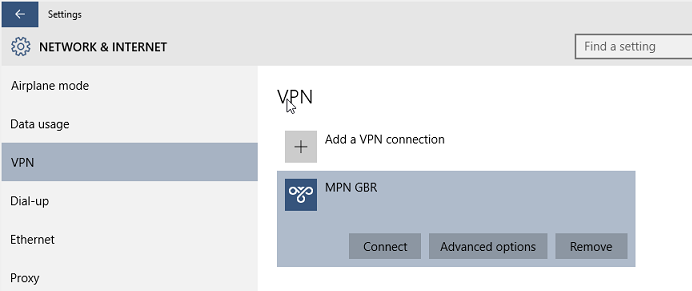
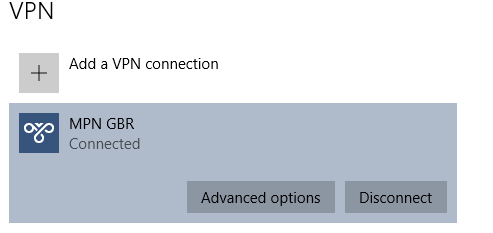
You should now able to see the MPN GBR icon at the VPN section.
Don’t Have a VPN yet? give our Free Trial a go by clicking the button below for 3 full days of unlimited access to both our VPN and MyTelly services.


*3 DAY FREE TRIAL – NO CREDIT CARD REQUIRED
Step 4: VPN Connection Properties Setup
Scroll down and select Change Adapter Settings.
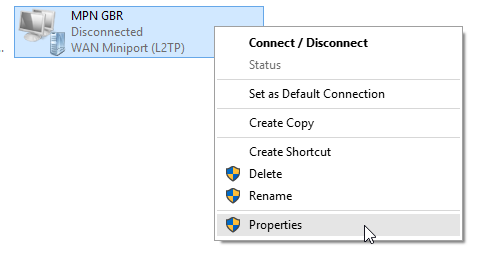
You should now be able to see the VPN connection that you’ve set up. i.e. MPN GBR. Right click on your VPN icon and select Properties.
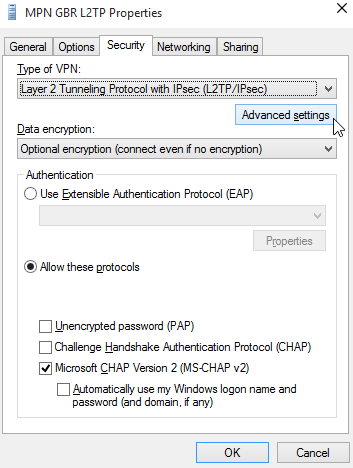
The properties window will be displayed. Click on the Security tab and ensure the option Allow these protocols is selected and and Microsoft Chap Version 2 (MS-CHAP v2) is checked.
Now click on Advanced Settings.
Make sure that Use preshared key for authentication is ticked and type in the word private in the key box as per image below. Click on OK to continue.
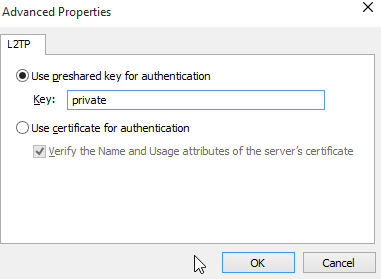
Click OK again to save the settings and close the dialog box.
Step 5: Enabling VPN Connection
Return back to the Network Menu and select the VPN connection that you have just created and click on Connect.
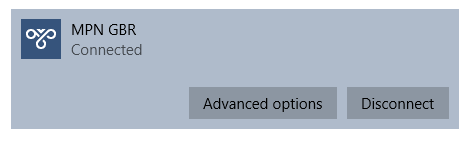
The VPN will now attempt to connect to our service and if successful, the VPN status will change to Connected.
You should also be able to see the status of the VPN connection from the Network icon on your taskbar.
![]()
If you now browse our homepage or check your IP address again from the IP Info page, your location should show that you are now in the UK (or which ever country you have connected to).
Need to change something?
If you entered the wrong username and password or you want to change the server name, just select the VPN connection again and click on Advanced Option.
Now click on Edit to update your credentials, server name or the VPN settings.

Any Problems?
Unfortunately it doesn’t always go to plan!
If you have any problems or can’t get connected, please email us at [email protected]. We’ll get back to you as soon as possible to assist you.